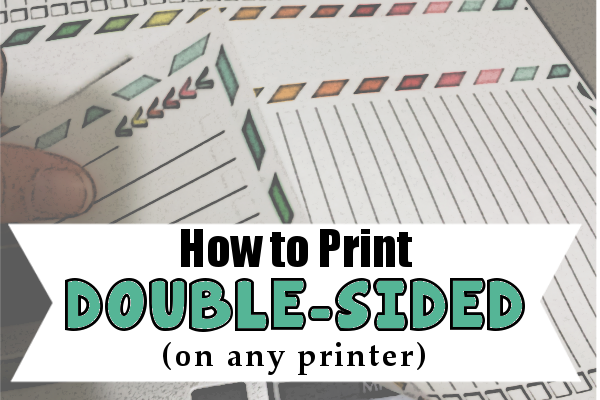

I have been working on a few half-page printables that I am so exited to share with you! However, since most of the printables I have made work better if they are printed double-sided, I thought I would share a tutorial on how you can print double-sided on any printer.

Start by drawing an arrow (in pencil so that you can erase it later) on a piece of paper. Place your paper in the printing tray with the arrow facing up and pointing in the direction that the paper goes into your printer. Now print out your document or image that you wish to be double-sided.

This will give you a pretty good idea of which direction your paper prints. As you can see in the photo above, the image was printed on the opposite side of the arrow that was drawn.

For this particular printer all I need to do is re-insert the paper into the printer with the image facing up. You can’t see in the photo, but the arrow that I drew is now facing down, pointing away from the printer.

Reprint the document. Now you have a double sided paper!!
Each printer may be a little different so you may want to print a few sample pages to make sure you get it right. If you are printing multiples of the same page, print them all one sided first then flip over the entire stack and re-insert into your printer before printing on the opposite page.
If you enjoyed this post, don’t forget to pin it for later.

You may also enjoy….
Blank list {Full Page} |  Monthly Calendar {Half Page} |  Monthly Calendar {Full Page} |  Medical Papers {Full Page} |
Related posts you may enjoy:
- Free Organizing Printables
- Genius Ideas For Organizing Your Kitchen
- 8 Ways To Organize Your Garage
- 5 Genius Under-Sink Storage Solutions
- Kitchen Organizing and Remodeling Ideas For Every Budget
- 6 Small Bathroom Storage Ideas You Must See
- How to Organize for $0.00
- 150+ Organizing Tips & Tricks
- Brilliant DIY Projects to Organize your Office
Connect with me & stay up to date with new posts on DIYHSH
Facebook | Twitter | Pinterest | Google+ | Instagram
Wait!! Do you want to see more amazing DIY projects?!! Subscribe to my mailing list to get updates sent straight to your inbox!