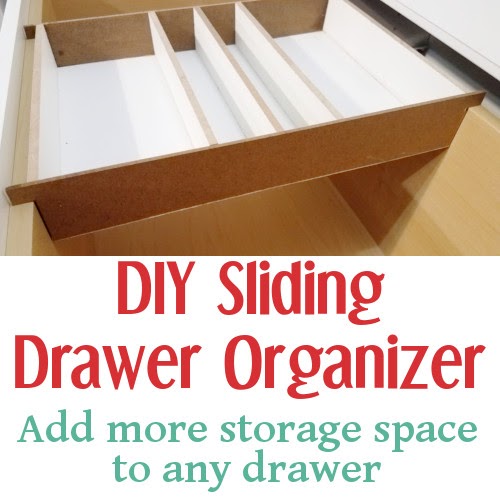

This DIY sliding drawer organizer is simple to build and it’s such a great way to add more storage to deep drawers. I built this one for my medicine drawer and now I’m planning on building one for the rest of the drawers in my pantry!
This post may contain affiliate links. Click here to read my full disclosure!
Last year (has it been that long already?!!) I shared this photo of my new pantry organizing system. you can read more about my pantry here, here, and here.

The bottom drawer on the left side is where we store our medicine and it worked great for a while. But after a year, it looked like this.

I started by sorting through all the medicine and throwing away anything that was expired or that we didn’t need anymore. I was actually surprised with how much I was able to get rid of. Somehow we ended up with 4 boxes of band aids and 3 of them only had one or two band aids in them!

Before buying anything for this project I decided to check out our scrap wood pile and I was able to find these three pieces that would be perfect.

I cut one large piece for the base, two side pieces with notches to rest on the top of the drawer, and several more pieces to use as dividers. Since the dimensions of these pieces can vary depending on the size of your drawer, I will do my best to explain them so that you can make your own.
Material Cut List:
Base – cut 1
- Length: The width of your drawer.
- Width: Can vary but no larger than half the length of your drawer.
Sides – cut 2
- Length: Same as the length of the base.
- Width: This depends on how deep your drawer is and how deep you want you organizer.
- Each side will also need a half inch by half inch notch on either end. This will be what sits on the walls of the drawers and supports the sliding organizer.
Dividers and End Pieces – cut two end pieces and as many dividers as you need
- Length: Same as the width of the base
- Width: The width of the sides minus the thickness of the base board.

I used wood glue to glue the sides and end pieces to the base and used clamps to hold everything together until it was dry. My divider pieces were a fairly tight fit so I chose not to glue them in case I wanted to change them in the future.

Here is the drawer with everything back in it!! I love that I can easily slide the organizer from side to side to access items in the bottom.
HADDD

You can see in the photo above how the notches on each side piece holds up the drawer. The wood I used is fairly soft and so far I have not noticed any scratches on my drawers. If I do start to notice any in the future I may glue some felt to the bottom of each notch. I chose not to paint it. Mainly because I just didn’t have the time, but also because this is in a drawer that hardly anyone ever sees. I may choose to change it in the future but for now it will stay just like this.
Related posts you may enjoy:
- My Dream Kitchen
- Building a New Pantry Organizer with EasyClosets
- 13 Tips for Organizing Your Life and Home
- Kitchen Organizing and Remodeling Ideas For Every Budget
- 17 Ways to Get Organized On A Budget
Connect with me & stay up to date with new posts on DIYHSH
Facebook | Twitter | Pinterest | Google+ | Instagram

This is just what I needed to get organized during Spring cleaning this year.
Yay!! Glad it came in useful!