Actually I finished these before Christmas. Just in time to wrap them up and stick them under the tree.

If you remember way, way, way, way, way back when… I did a tutorial for this keepsake scarf.

The scarf was made from scraps I had leftover after cutting all the pieces for the quilts. Finally, over a year later, I finished both quilts. The quilts themselves actually didn’t take that long at all. The quilts spent most of the year seeing nothing more than the inside of a box while I procrastinated. I tried blaming it on the many moves, not enough space, not enough time, ect… but in all reality. I just didn’t have the motivation to do it. I attempted… Many, many times… But every time I pulled out that mountain of fabric squares, I was instantly overwhelmed. It was finally around October that I decided, once and for all, I was going to finish them.
- Each square was 7x7in and I used 144 squares per blanket. (288 total)
- I started by matching two squares up and sewing them (wrong sides together) with a big X across the middle. (you could also add a layer of batting between the fabric but since we live in a fairly warm climate I chose not to.)
- I then placed them out on our bed to decide where I wanted each square to go. I wanted it to look random but I didn’t want two of the same squares next to each other.
- Once all the squares were sewn together I started sewing each individual row together. Leaving a half inch seam for the ‘rag’ look and making sure all the seams were facing the right direction.
- I then began sewing the rows together. Again using a half inch seam with all seams facing the same direction.
- Then comes the fun part!!! Cutting all those seams!!! I did mine over a few days in order to avoid painful hand cramps. (I still remember the ones I got from the scarves). We also took a trip to a town about an hour away. Hubby was driving so I thought it would be a good chance for me to finish up the last of my cutting. THIS WAS NOT A GOOD IDEA!! I had tiny little pieces of thread all over me and the car. These things do make a mess so be sure you cut them in a place that can be cleaned easily.
- After all of the cutting was done, I threw them in the dryer and checked the lint trap about ever 10 minutes. It’s important to do this since they create a lot of lint and you don’t want it clogging up your dryer.

The finished blankets measured 48×54 inches.
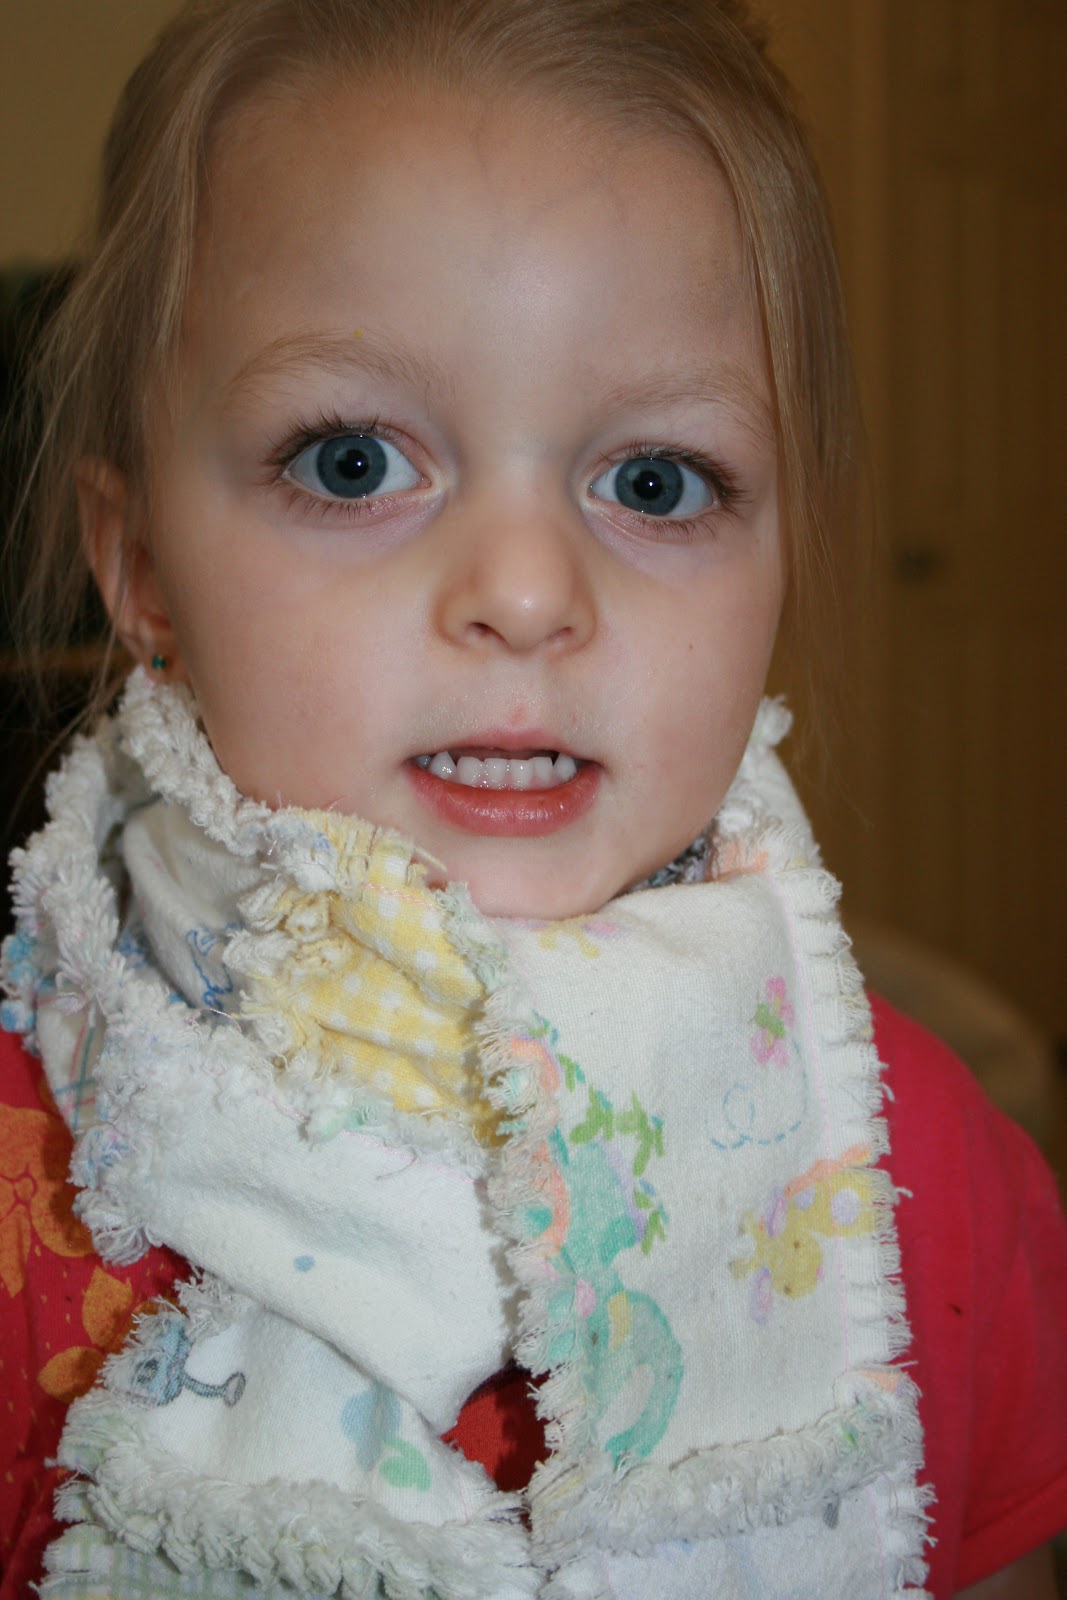
They are SUPER SOFT and the girls love them.
Related posts you may enjoy:
Organizing
- Free Organizing Printables
- Genius Ideas For Organizing Your Kitchen
- 8 Ways To Organize Your Garage
- 5 Genius Under-Sink Storage Solutions
- Kitchen Organizing and Remodeling Ideas For Every Budget
- 6 Small Bathroom Storage Ideas You Must See
- How to Organize for $0.00
- 150+ Organizing Tips & Tricks
- Brilliant DIY Projects to Organize your Office
Cleaning
- The Ultimate List Of Kitchen Cleaning Hacks
- 50 Random Tips Everyone Should Know
- 50+ Hacks to Start Using Now!! You’ll wonder how you ever lived without them
- 21 Spring Cleaning Tips & Tricks
- 21 Brilliant RV Storage Hacks
- 7 Car Organizing and Cleaning Hacks
- Clean House Checklist – Free Printable
- 7 Unbelievably Brilliant Clutter Busters
- Did You Know… 50 Insanely Clever Random Hacks
Home Decor
- 20 Ways to make You Kitchen Look Amazing!
- 9 DIY Chicken Wire Projects
- DIY Farmhouse Home Decor Projects
- 8 Inexpensive Kitchen Appliance Makeovers
- 6 Beautiful Diy Flooring Options For Every Budget
- The 7 Best DIY Home Decor Projects
- 10 Ways to Transform Yard Sale Knick-Knacks, Other Decorative Finds
- 102 Tips, Tricks, & Hacks To Simplify Your Life
- 11 Inspiring Uses For Picture Frames
Gardening
- 7 Vintage Garden Decor Ideas
- DIY Grass Table Using REAL Grass
- 12 Upcycled Pots to Beautify Your Container Garden
- 13 things to do with your old garden hose
- 9 Build-It-Yourself Outdoor Furniture Ideas
- 5 Tips For An Amazing Garden
Recipes
- 7 Craving Busting Dill Pickle Recipes
- The 21 Best Sandwiches & Wraps You’ll Ever Eat
- 6 Deliciously, Healthy Dessert Recipes
- 17 Savory Soup Recipes
- 7 Best Peanut Butter Recipes Ever
- Top 10 Best Comfort Food Recipes Ever!!
- The 8 Best Cheesecake Recipes Ever
Kids
- 50+ Insanely, Brilliant Parenting Hacks
- 30 Brilliant Toy Storage Hacks
- 10 Free Printable Toys
- Paper Crafts For Kids
- Kid Friendly Birdhouse Tutorial
- 10 Ways To Make Parenting A Little Easier
- Indoor Activities For Kids
- Simple Trick to Tame Barbie’s Hair
Crafts
- Beautiful Transformations Using Paint
- Don’t forget the birds. 5 DIY bird feeders
- Organizing Your Fabric
- DIY Rag Rug
- Sewing 101 – Tips & Tricks For All Levels
- 15 Creative Uses For Flea Market Cups, Bowls, & Plates
- 9 Glow-In-The-Dark Projects Perfect For Summer Nights
- What Can You Make From One Yard Of Fabric? Try These 7 Tutorials.
- 14 Simple Hacks That Will Make Your Home Amazing
Christmas
- Simple Diy Ideas for the Holiday
- 25 DIY Christmas Ornaments
- Fun Christmas Crafts for Kids
- Adorable, Recycled Christmas Ornaments
- 19 Mind Blowing Christmas Hacks
- 6 Creative Christmas Sweater Ideas
- 15 Rustic Farmhouse Christmas Decorations
- 8 Dollar Store Christmas Crafts
Halloween
- 13 Halloween Tips and Tricks
- 8 Totally Disgusting Halloween Recipes
- 26 Festive Fall & Halloween Wreaths
- 11 Fun Halloween Recipes
- 7 Brilliantly Disgusting Halloween Ideas
- 10 Fun & Simple Adult Halloween Costumes
- The Top 7 Creepiest Halloween Ideas
- 10 Fun Toddler-Approved Halloween Crafts
Connect with me & stay up to date with new posts on DIYHSH
Facebook | Twitter | Pinterest | Google+ | Instagram
Wait!! Do you want to see more amazing DIY projects?!! Subscribe to my mailing list to get updates sent straight to your inbox!
That's a great quilt, and I'm sure the kiddos love it!
Thank you! Yes, they do love them.
I love rag quilts — they're so soft and comfy!
Yes they are!!!
OH! How pretty. What lucky girls.
Thank you!!
This is really, really cute!! I might tackle making a t-shirt quilt for the future husband…
I would love to see photos if you do.
Wow, your quilts are beautiful. That was a ton of work, but you clearly put a lot of love into them as well. I'm sure the girls love them! What wonderful keepsakes! And thank you for the tutorial. I'd love for you to share this at out Be Inspired Link Party!
Thanks. I'll be sure to pop on over and link up.
I love rag quilts, I am dying to make one. The fabric in this one is so sweet.
Thank you. I love them too!!
They look SO soft! I bet your girls will love them for years to come! I made one of these quilts years ago from jeans, corduroy and old flannel shirts. I still remember the hand cramps (and the mess!) quite vividly!
Thankfully, doing the cutting over several days, I didn't have any hand cramps!!
So adorable! I love it!
Really nice! It looks great on your bed and is so cute.
Very beautiful and wonderful work! ♥